In the world of home building and remodeling, particularly in the plumbing and electrical sectors, ‘rough-in’ is a term used to describe a pivotal early phase of construction. This phase follows the installation of basic services and precedes their completion.
Plumbing rough-in, specifically, involves the initial setup of water supply lines, drain lines, vents, and pipeline connections. This foundational plumbing infrastructure must be in place and approved by a building inspector before moving to the next stage: finish plumbing.
Rough-in plumbing is a common term among plumbing professionals, but it’s also frequently mentioned in building layouts or blueprints. This is particularly relevant for those considering the purchase of a new home.
For instance, if a blueprint indicates rough-in plumbing in an unfinished basement area, it signifies that the primary plumbing lines – for water, drainage, and ventilation – are already installed, typically for future developments like a basement kitchen or bathroom.
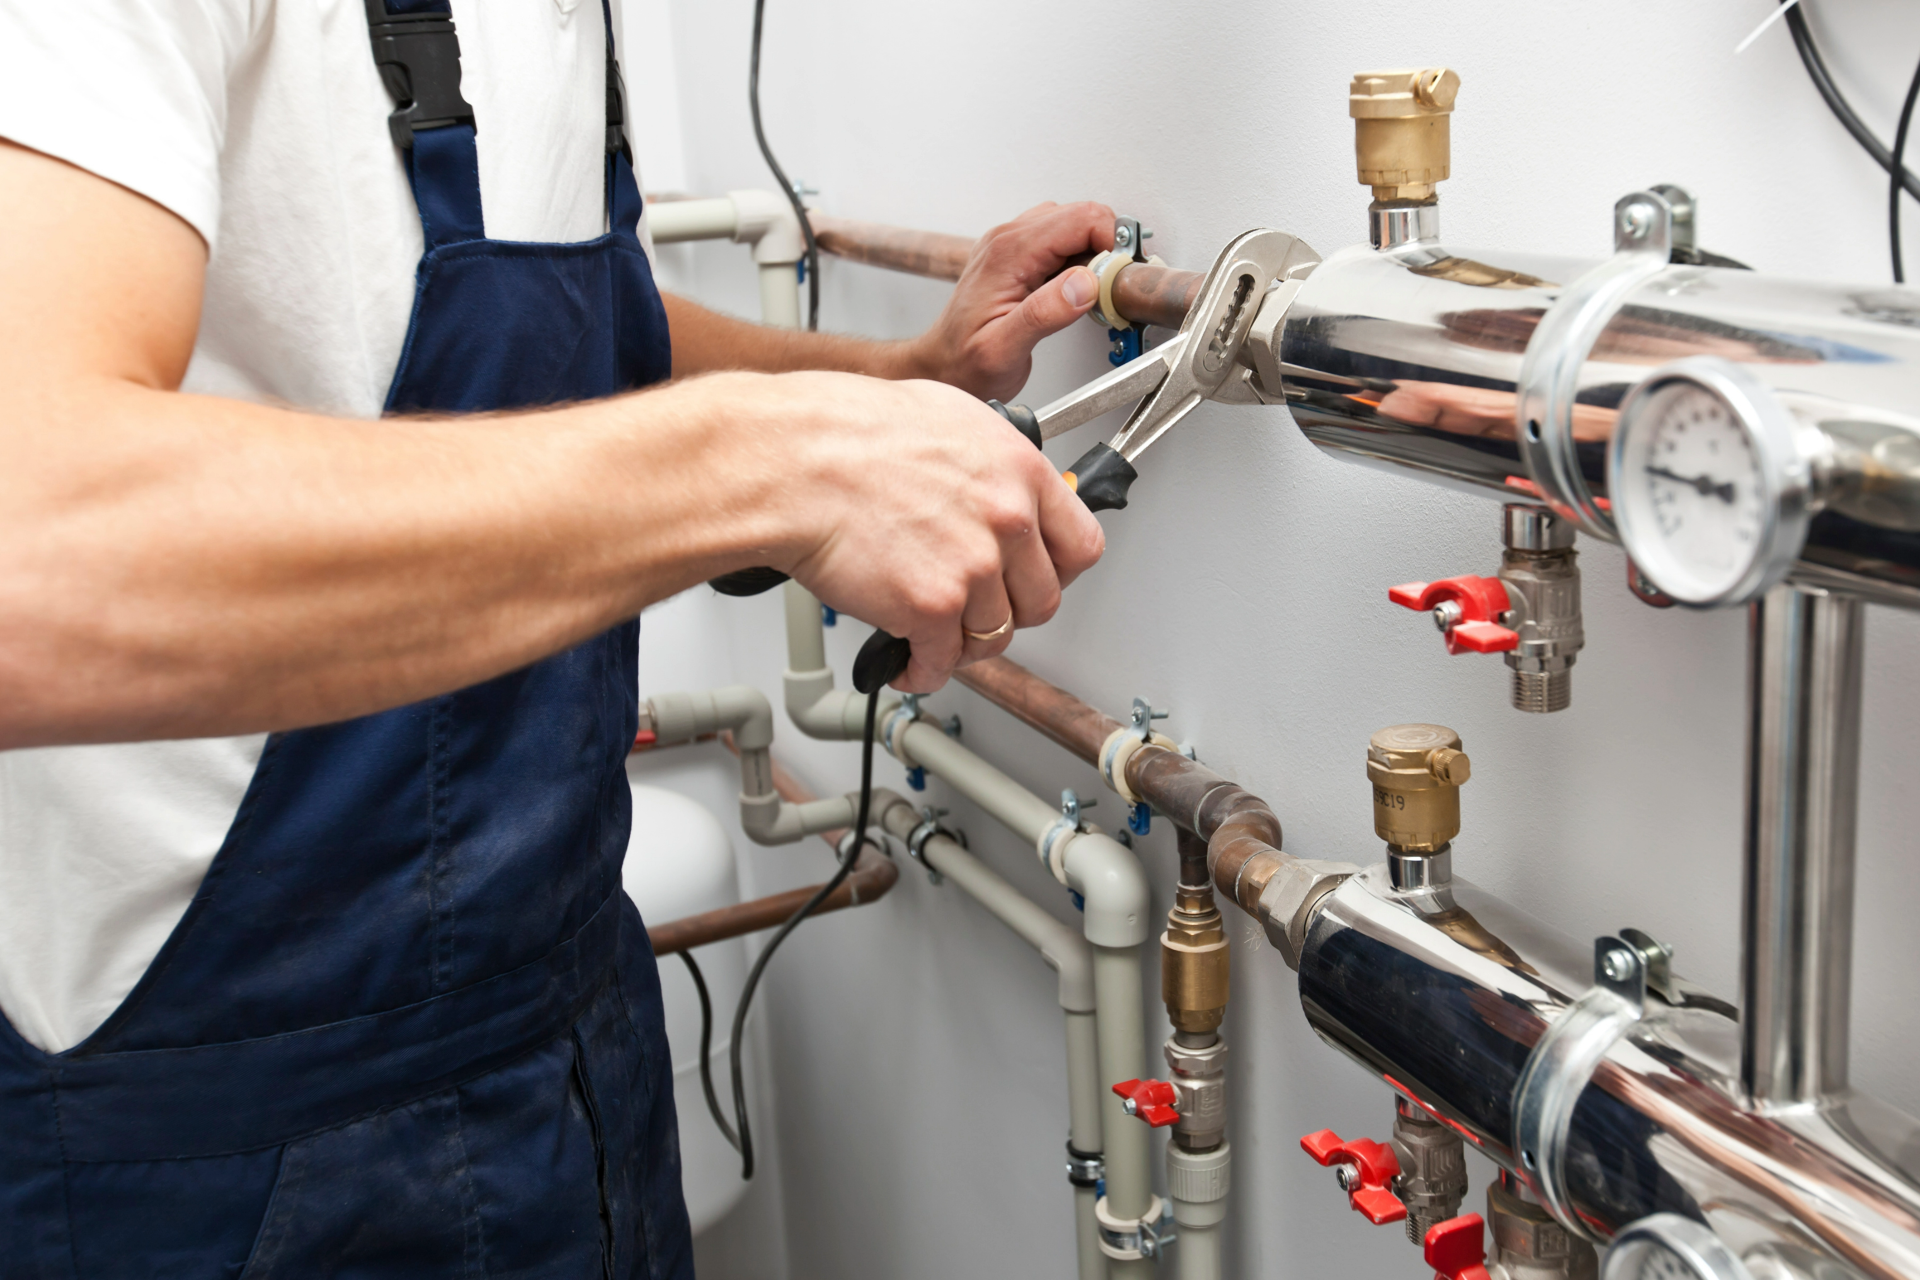
Table of Contents
Exploring the Rough-In Plumbing Stage
The rough-in stage includes several critical tasks. It begins with the excavation and installation of underground pipes that extend from the utility connections to the main building. These pipes are then strategically routed through the walls of the structure. Vent stacks are installed, extending up to the roof.
Drain lines are connected to either the municipal sewer system or a septic system. Water lines are linked to the main water supply valve, and all necessary pipeline connections are established.
Once the rough-in plumbing is complete, and typically after it has been inspected and approved by relevant authorities, the construction process can move forward to the finish plumbing stage. This next phase involves the installation of visible plumbing fixtures such as sinks, toilets, and showers, marking the final steps in completing the building’s plumbing system.
Distinguishing Between Rough-In and Finish Plumbing Stages
In the construction of a new home, the process of installing the plumbing system is divided into two main stages: rough-in plumbing and finish plumbing. Rough-in plumbing lays the foundational infrastructure, while finish plumbing involves the installation of fixtures and final connections.
Rough-in Stage
During the rough-in stage, a professional plumber, equipped with the necessary training and expertise, undertakes significant tasks. This includes excavating for underground water and drain lines that connect the utilities to the main structure. The plumber is responsible for strategically drilling holes for water lines, drain lines, and vent stacks throughout the home. Following this, they run the necessary pipes and make connections within the wall cavities.
Finish Plumbing Stage
Once rough-in plumbing is complete, the focus shifts to finish plumbing. This stage, while sometimes manageable by experienced DIY enthusiasts, typically requires the skills of a professional plumber for optimal results. Finish plumbing involves removing caps from the previously installed lines and fitting the actual plumbing fixtures. This phase includes setting up under-sink drain assemblies, installing water system valves, and rigorously testing connections to ensure there are no leaks.
Guide to Rough-In Plumbing for Home Projects
Attempting rough-in plumbing for a new home on your own is generally not advisable unless you’re a professional with up-to-date knowledge of building codes and inspection requirements. However, if you’re adding new plumbing for a bathroom, kitchen, or laundry room in an existing home, you might be able to handle some of the work, depending on your skills and experience. Remember, all rough-in work needs inspection before proceeding to finish plumbing.
Key Considerations for Rough-In Plumbing:
Gravity and Drainage:
Ensure drain lines slope downward for effective drainage, avoiding long horizontal runs.
Venting the Wastewater System:
Proper venting is essential to prevent issues in your plumbing infrastructure.
Excavation and Main Line Installation:
Begin by excavating for water and drain lines from utilities to the building. Either make the connections yourself, if skilled, or hire a professional for this critical task.
Bathroom Plumbing:
For bathrooms, set and level tubs to determine drain placement, drill appropriately, and secure the tub. Measure and mark toilet placement, ensuring proper distance from walls and other fixtures, then drill the toilet drain hole.
Drainage and Venting Holes:
Drill holes for drain lines and vent stacks, considering gravity for drain placement. When connecting drain fittings, ensure a secure and leak-free bond.
Vent Stacks:
Run vent stacks from the basement to the roof, connecting vents in the attic and ensuring external termination.
Water Lines Installation:
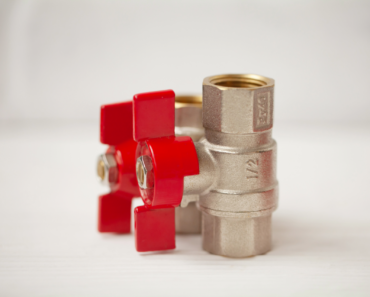
Install main water lines, reducing them for individual fixtures. Keep the length of these smaller pipes short and straight.
External Venting for Plumbing Equipment:
Drill vent holes for equipment like sump pumps and water heaters, based on their planned locations.
Completing Water, Drain, and Vent Connections:
Connect main water lines, install the central drain stack and vent stack, and tie in all relevant lines.
Testing the System:
After connecting the water lines to the main service and installing a shut-off valve, test the system for leaks. Address any issues promptly, as it will be harder to fix problems after walls are closed up.
Remember, rough-in plumbing is just the beginning. Ensuring a solid foundation at this stage sets the stage for successful finish plumbing and a well-functioning plumbing system in your home.