Table of Contents
Paypal – Invoice Templates
We all know PayPal is an awesome tool for business moms that need to accept payment online.
If you are a business that manually sends invoices to customers, using PayPal – Invoice Templates will save you time.
Perhaps you have not considered using PayPal’s – Invoice Template features.
While this process is not automated (unless you use the subscription option) it is simpler than implementing a payment portal like WooCommerce.
PayPal – Invoice Templates Setup
One: Log into to your PayPal account.
Two: Click ‘Create an Invoice’ and then ‘Create an Invoice’ again.
Three: Select ‘Create New Template’ beside select a template to start.
Four: Add your logo to the template.
Click ‘Add logo’.
And select ‘browse’ to find the logo on your computer.
Your logo needs to be 200 X 75 pixels and maximum of 100KB in size.
Adding your logo creates a new level of professionalism to your Invoice so we highly recommend NOT skipping this step.
Five: Add the information regarding what your customer is purchasing.
Include cost and details of the purchase.
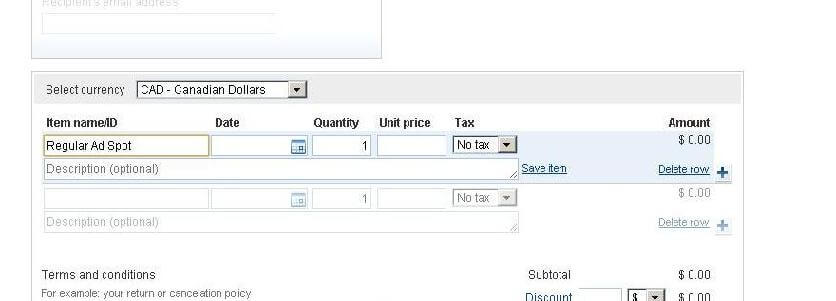
Six: Include details about terms and conditions.
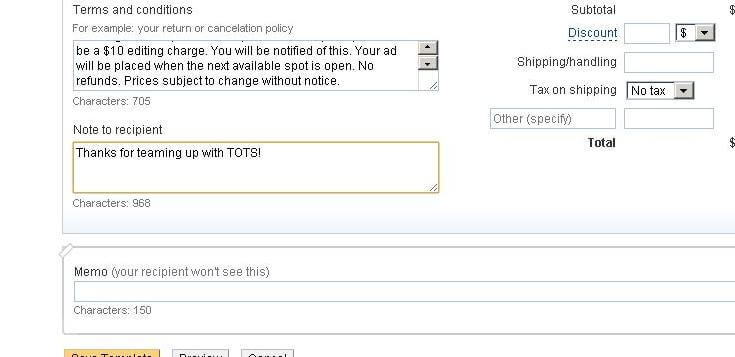
Seven: Click ‘Create Template’ and it will allow you to name your template.
It is located at the bottom of the page. I suggest choosing something detailed enough that you will know exactly what it is without needing to open it.
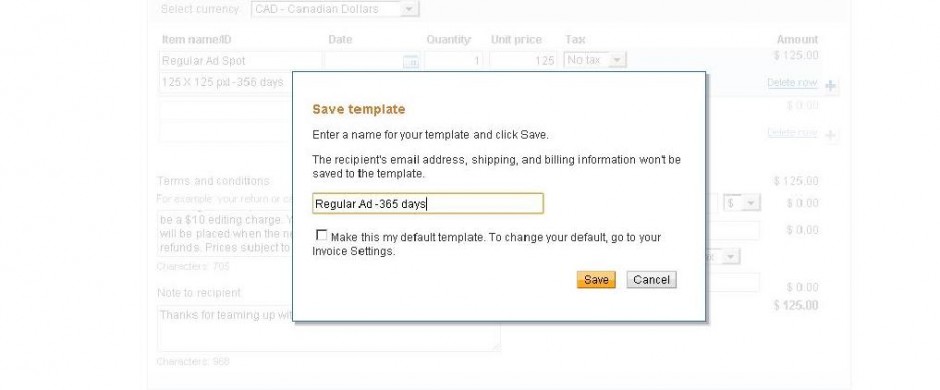 Eight: Click ‘Save’.
When you are ready to complete an invoice from your template, it will be in a drop down menu next to ‘Select a template to start’. Simply fill in the customer’s email address and hit ‘send invoice’. If you want to take a peek at what the customer will receive, select ‘preview’.
We would love to hear about your experience with PayPal invoices. Please comment below.






I love Paypal and use it almost daily. I often use the app on my iPhone as well. It’s not quite as comprehensive but does the trick on the go 🙂
Can totally depend on the above given Invoice Template for the Financial Stuff !
I’ve been browsing online more than three hours
today, yet I never found any interesting article like yours.
It is pretty worth enough for me. In my opinion, if all webmasters and bloggers made good
content as you did, the web will be much more useful than ever before.