As a review blogger I am constantly trying to promote my reviews and know that having attractive images is a good way to catch someone’s attention in hopes that they will read my review.
With Pinterest.com continually gaining users and bringing loads of traffic to other blogs, I decided it was time to figure out how I can gain more traffic via Pinterest.
I noticed that the pins I (and most others) were most attracted to were ones that contain both a nice photo and blog title on it. The pin’s description can be a good tool, but anyone who repins can erase and re-write whatever they want.

So I started using a free image editing website to create a collage that could contain one or some of my review photos as well as the post title and my web address too.
I use PicMonkey.com but I know there are other free sites and software that some of you might already have on your computer to do this as well. I like PicMonkey because you do not need to create an account, thus no logging in or remembering a password, etc (however you can create one if you want to).
Here is my tutorial for using PicMonkey.com to create a photo collage ready for Pinterest.
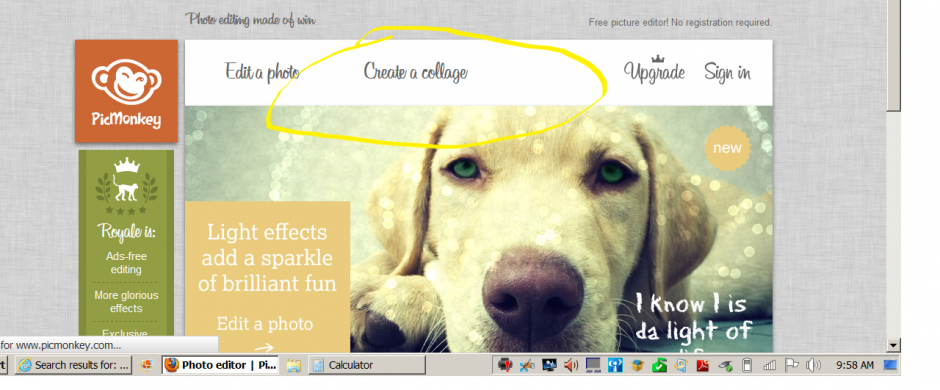
Head to PicMonkey.com and click on ‘Create a Collage’
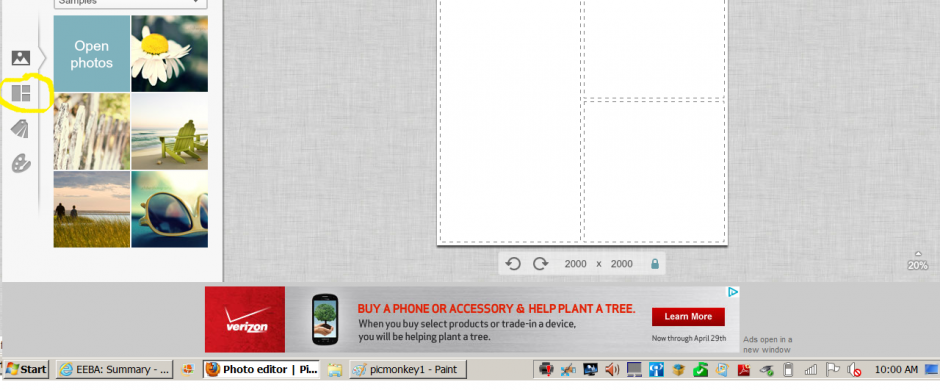
Next, choose the collage grid you want to choose by clicking on the picture circled below:
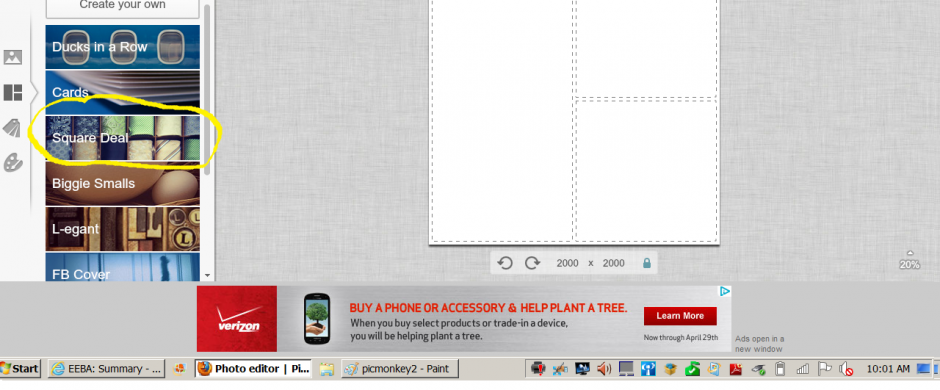
Here you can choose the style of grid and number of photos you want to use. I use Sqaure Deal but you can try others:
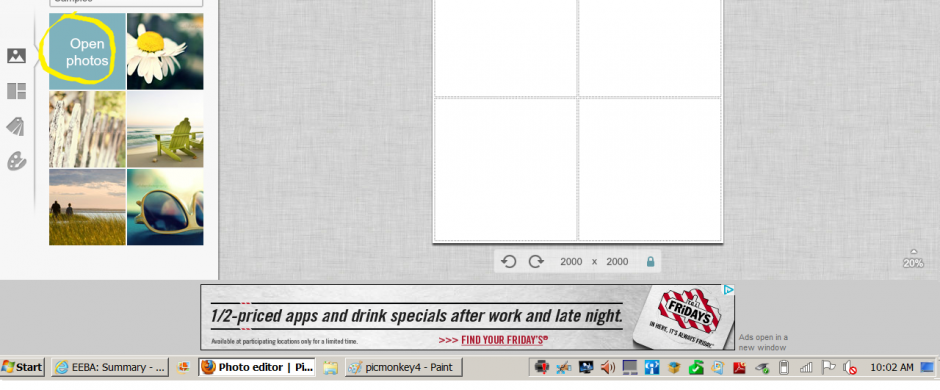
Next you will choose how many images you want to use. I usually go with 4 so they are big enough to see clearly:

Now you can go back to the image uploader to grab the images you want to use:

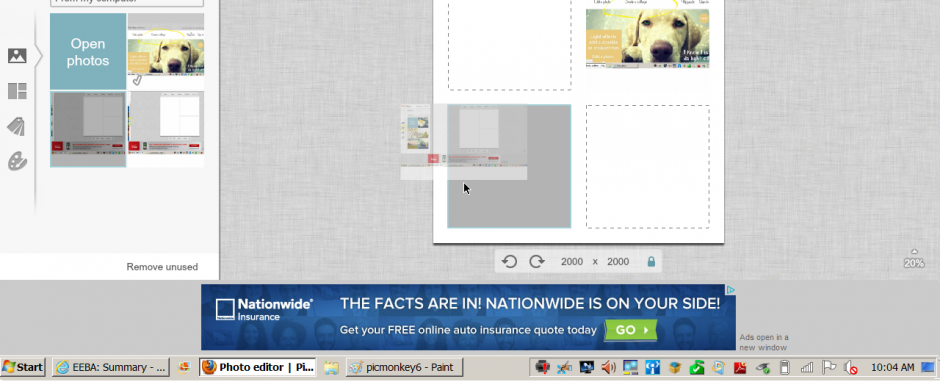
Click on ‘Open Photos’ to upload them from your computer:
You should see your photos and can now start dragging them over to your collage by holding down the left mouse button on the image while dragging it:
I like to fill all but one square, which I will use to type up the Blog title. You can start that square by clicking on the Swatches button circled below:
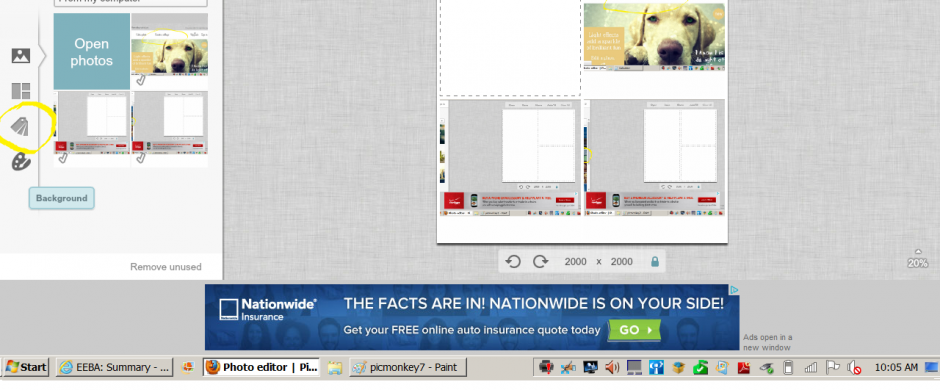
Here you can choose a color to use on the background of your blog title. You could also skip this step if you want to leave that white.

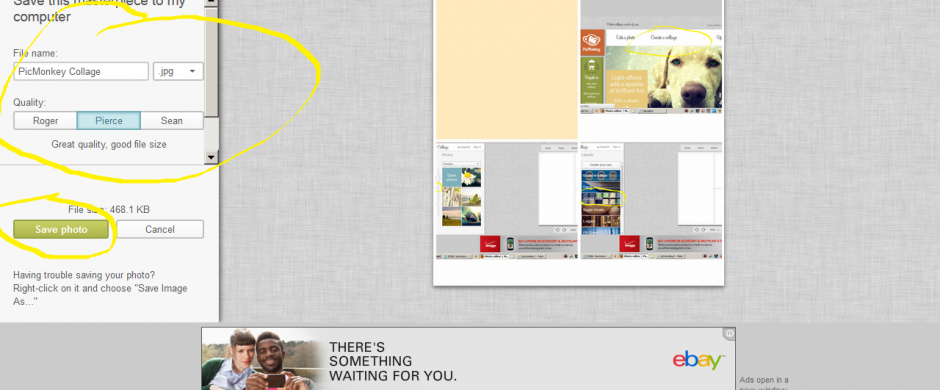
Now you are ready to save your collage (which you will reopen to add your text). Just click on ‘Save’ button above your collage and choose a name, quality, and then click ‘Save Photo.’
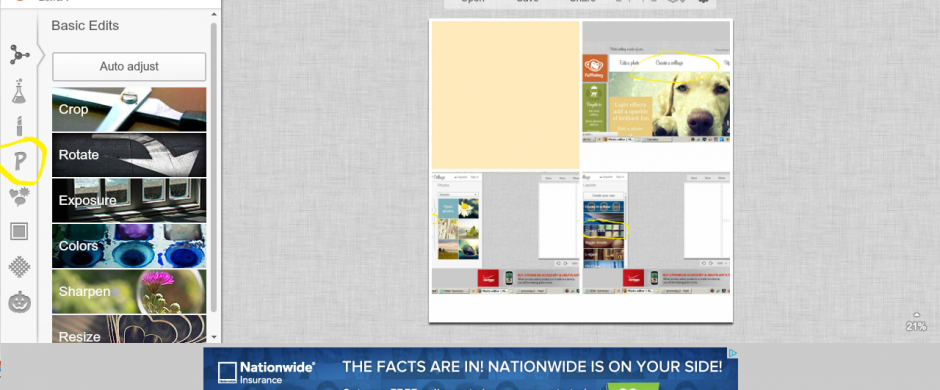
You will now re-open PicMonkey.com and click on ‘Edit Photo’:
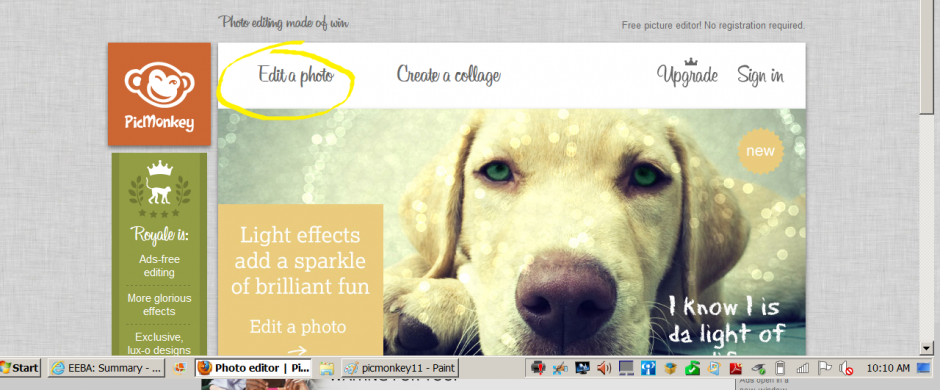
Find the collage you just saved and open it up. Click on the ‘P’ to open the text feature:
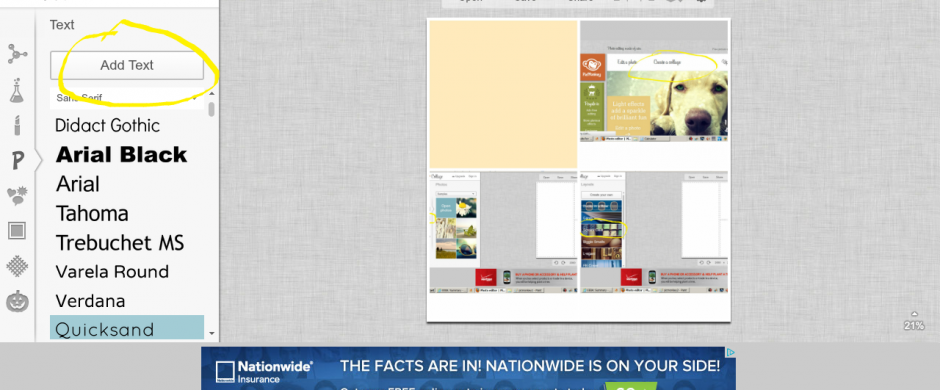
Choose the font you want to use and click on ‘Add Text’:
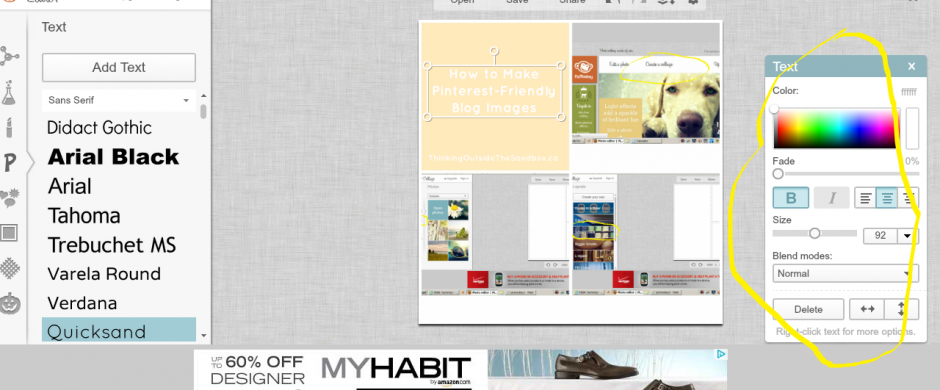
Now you can type and edit your font to your liking. Sometimes the text box is hard to size so I recommend making it into a tiny square and then enlarging it to fit your box. Below you can see that I used two separate text boxes for two different sizes of font.
Now you can save your image, just like before, and upload it to your blog post!
Please feel free to share in the comments some tips you might have or even with other websites or software that you like to create images with.


Great advice. Thank you for sharing your best practices for this. It’s really helpful and the details steps make it easy to follow.
Love this! Will be doing. Thank you!
Thanks, I need to get better at this.
Thanks for sharing this. I already use PicMonkey to edit photos and make some collages, but I didn’t know about the text. I will keep this in mind in the future. Thanks for sharing.
Great advice! I will be doing this. Thank you for sharing.
Great tutorial! Having nice photos for pinterest is so important.