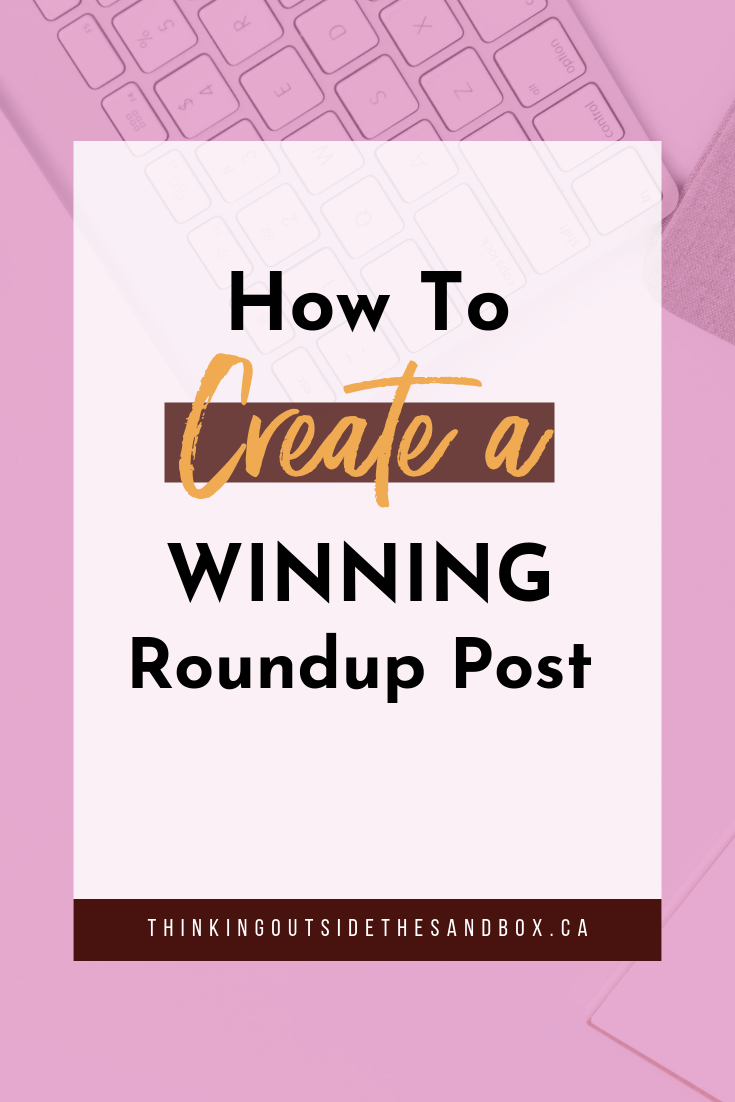
As mentioned in the Do’s & Don’ts of Round-Up Posts, round-ups can be an excellent way for bloggers to add content to their editorial calendar and bring traffic to their blog so learn here how to create a winning roundup post.
This post will focus on how to make a roundup post that is fantastic.
The most important part of the round-up post is your collage picture.
In our previous post, I shared where you can find posts for your round-up.
There are many different ways you can make your main collage.
Here are some simple recommendations:
- Don’t include every single picture.
- Create a little bit of mystery in the viewers’ mind when they see my collage image.
- You don’t want them to see everything and decide by the image whether or not to click through.
So if I have 30 cupcakes in my round-up, I may include only 10-15 pictures in my collage image so that they want to click through and see if I have a recipe that may not be in the picture.
Plus, then I can only use the best images and I can make them bigger so that they are easy to be seen.
Table of Contents
How to Create a Winning Round-Up Post
In the past, I have included all the pictures in my collage, numbered them, and then numbered all the links in my round-up to coordinate with the pictures.
This is a nice way of doing your image and may suit your purposes, but it is time consuming.
Also, I do not think the main collage is as appealing visual when you include numbers.
Here is how I do my main collage:
- First, I go to each post that I will use and I save the image I want to use to a folder named for that round-up. I rename the image as the name of the post so that I will know which post goes with which picture. At the same time, I either save to a spreadsheet the post’s title, the blog’s name, and the post’s URL or I put that information directly in my post.
- Then I go to Picmonkey, and click on the collage option. I bring all the pictures from that folder over to PicMonkey.
- I then go to the second tab down on the left hand side for the collage options and click on “Create Your Own” at the top.
- Next, I start dragging the pictures over and placing them where I want them to be. This way, I can make them fit right. If I don’t like it, I just drag another picture over and replace it or X the picture out.
- After I get my collage just the way I want it to look, I click on “edit” and go over to the editor part of PicMonkey.
- I then usually put a white rectangular overlay over the collage and “fade” it so that you can see the pictures a little underneath the overlay. I also resize the photo to be smaller and the right width for my blog.


Adding the text is the next step.
I usually say a number first with a circle or a diamond overlay behind the number to make the number pop out.
Here you see how I added text to this image:
If I do a huge round-up, I will do one main collage that is vertical for Pinterest and then I do narrow, but wide horizontal collages to break up my categories. Sometimes I will do the wide horizontal collages first and then use those horizontal collages to make my vertical collage. Here is an example of one I did for St. Patrick’s Day. I made horizontal collages for each category like this one below:
Then I put them all together to make a vertical collage, add an overlay with text for my main collage that goes at the top of my post.

- Here are some more examples of collages I have done in the past. As you can see, there can be a lot of different ways of making the vertical collage.

- Of course, after the collage is done and added to your post, make sure that you include in your post the title of each post and the name of the blog.
- Then hyperlink the name of the post to the actual post. I usually use bullet points to make it look neat and easy to read.
Now, it is ready to post! If you want, you can tag bloggers on social media or email them and let them know you included their post in your round-up!
Many times they will click over to your post to view it, and they may share it which will bring you additional traffic!
What is your favorite way of creating round-up posts?
Our readers also found these resources useful, How to Optimize Content for an eCommerce Website, Turn your 9 to 5 into an eCommerce Business and How to Integrate Social Media on your Website.


Great post! I am looking to brush up on my round up images and this was a great tutorial. I would add that be sure to get permission to include images that aren’t your own from other bloggers. One blogger I wanted to feature had very strict rules about how her photo was displayed. I say play it safe and always get permission even on round ups. 🙂