Create a custom look for your blog or business, for web use or print using a watercolor look. Customized for you. Your choice of colors, your choice of font, everything. A beautiful header or logo, etc.
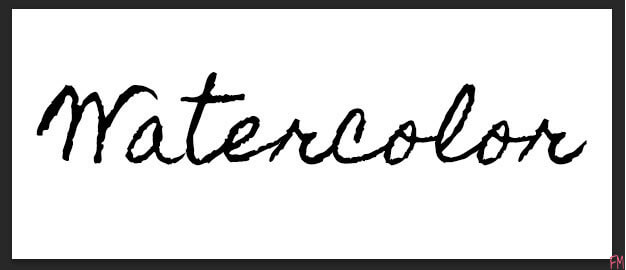
The first step is to choose your font. The color isn’t particular at this point as will be hiding this layer later on. A bolder, thicker font will show the watercolor better.
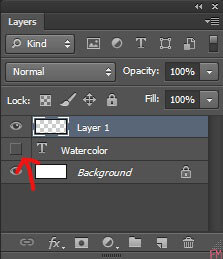
The T next to Watercolor in the layer panel, see it? While holding down on the Ctrl button click it. Your font with now be selected.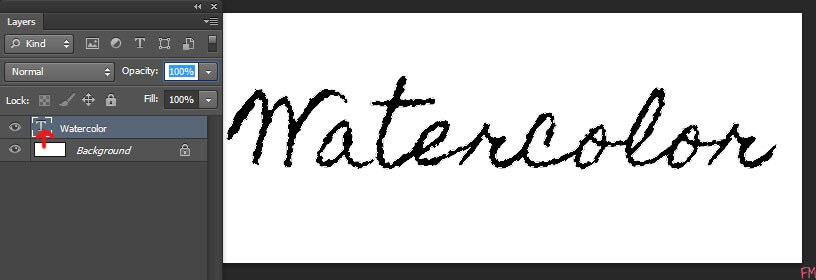
Add a new layer, using the New Layer button next to the garbage can. Then hide the text layer.
Select your first color, pastels work great. There are two ways to create your watercolor. One being very careful using the Watercolor Build Up, using this brush you have to make sure to use quick strokes in places for light color. The other way, in which I used, is using the Round Watercolor brush. I completely fill in the select space, choose my next color, a slightly lighter color and make quick strokes through the selected area. You can you more than two colors, customized to your choice. 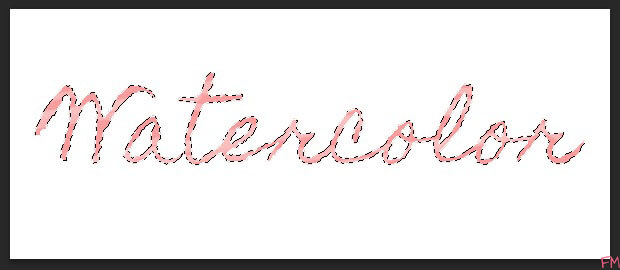
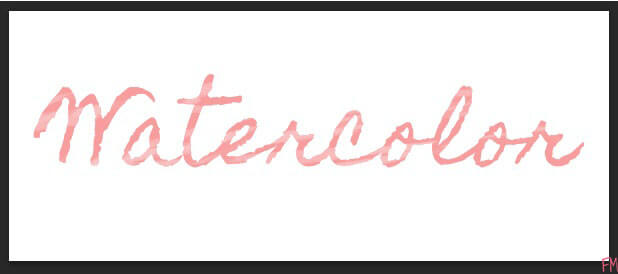
Then, Ctrl + D to deselect your font and there you have it. Your watercolor text.