There are great graphic designers out there and some of them even offer affordable rates but why not learn how to create a blog header free.
However, sometimes your budget is $0 or maybe you just can’t get your vision across to someone else so they can put into a graphic design.
Maybe you don’t know exactly what you want so you need to play around on your own.
Those were all of my issues rolled into one so I decided to get to work on how to create a blog header free.
I know how to use PicMonkey and I found some great free patterns at Pattern Cooler so I decided to give it a shot and try something on my own.
The worse that could happen was that I didn’t like it, so I scrap it and no money is lost.
I played around for awhile and after about an hour I came out with this:

So how did I do this?
First I went into the dashboard of my blog, which is a WordPress blog and onto the page where you can change the header.

I found the exact dimensions needed for the right size header which is 1000 px by 288 px.
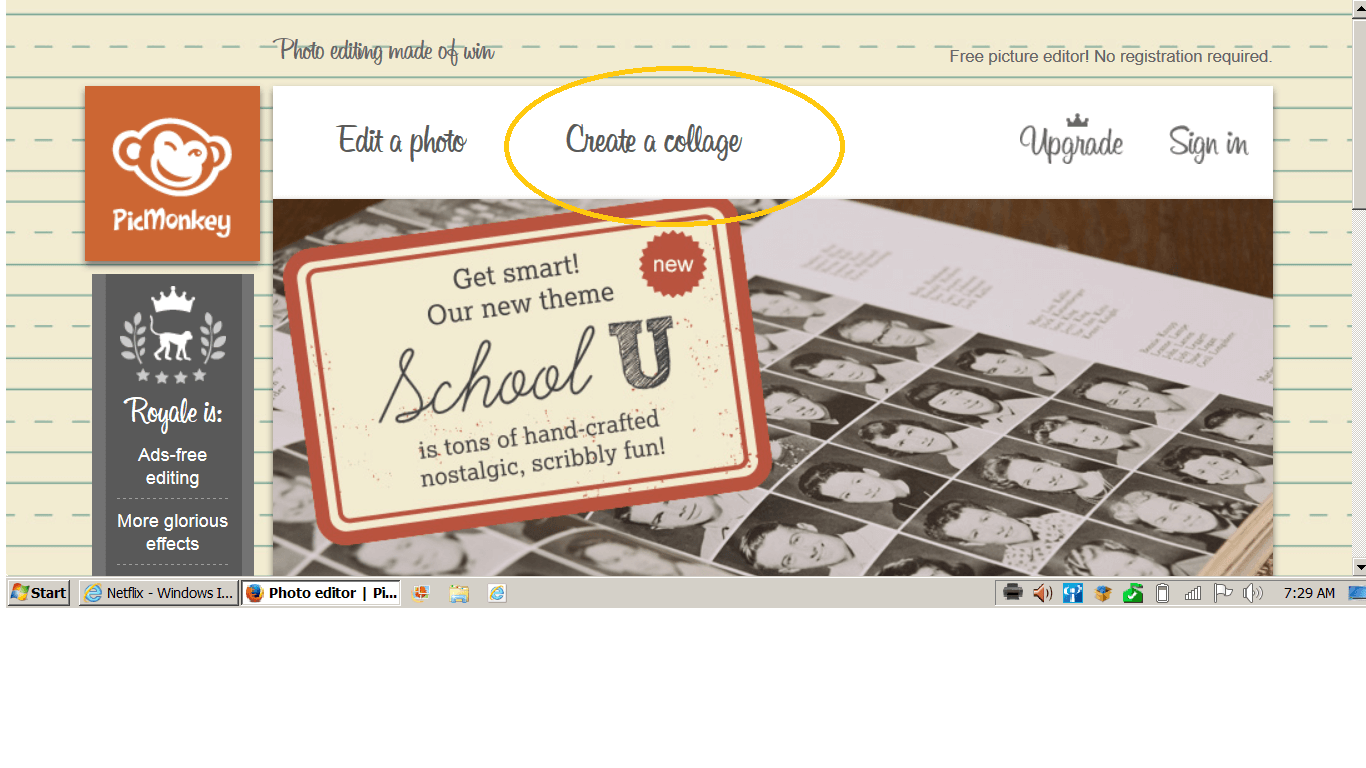
Next I headed over to Picmonkey and clicked on Create Collage.
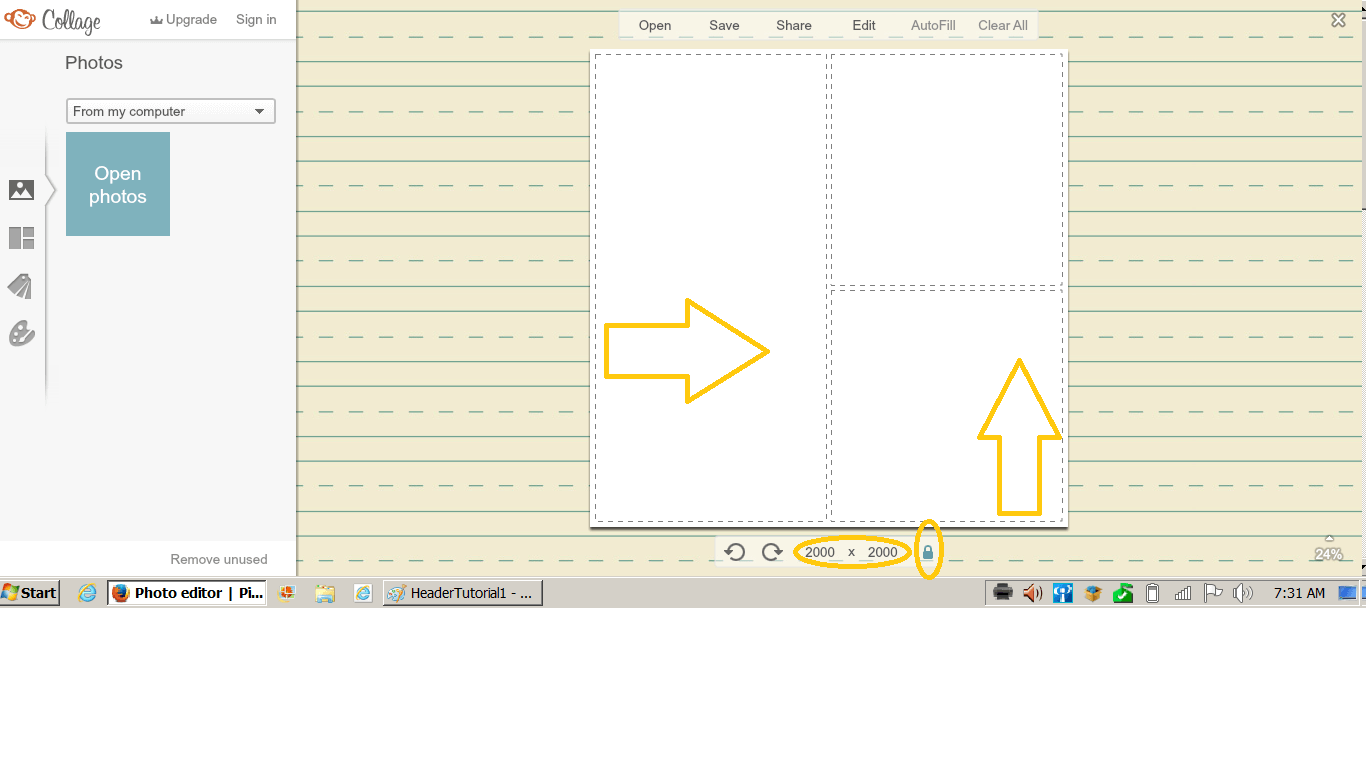
First you should adjust your collage size by simply dragging the sides until you get the numbers you want (1000×288 for wordpress).
You should lock it by clicking on the lock once you’re done adjusting.
You can then upload pictures from your computer or elsewhere.

I decided on using patterns instead of actual images so I found some I liked at Pattern Cooler.
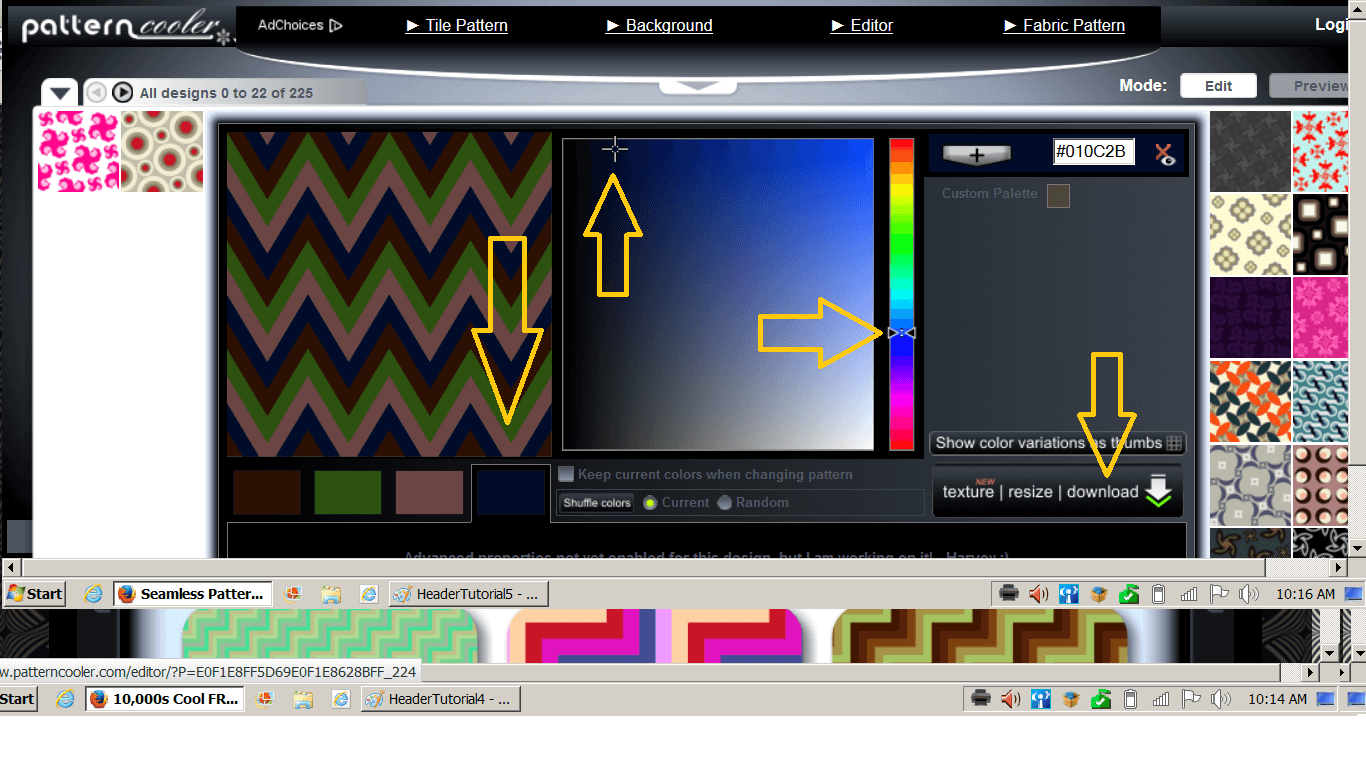
You can choose a pattern you like and download it right away or you can choose the change the colors.
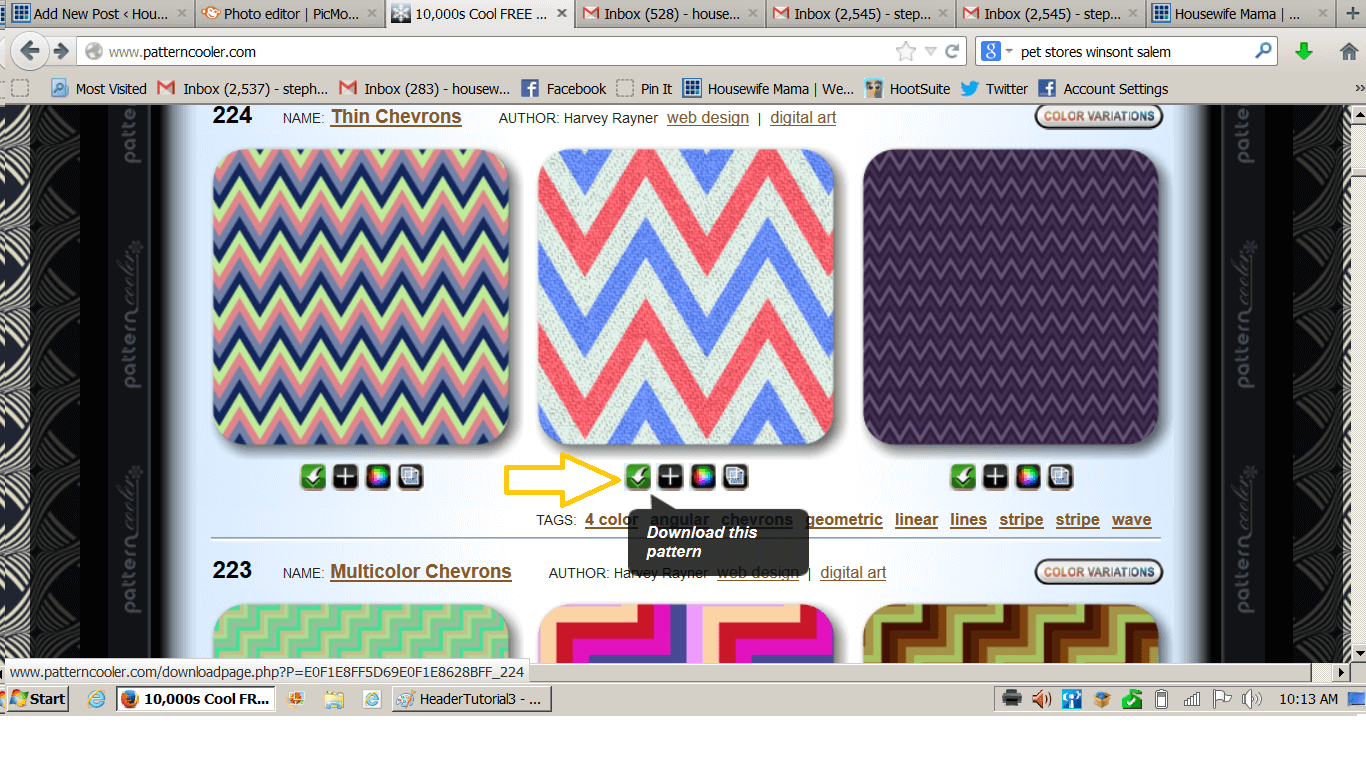
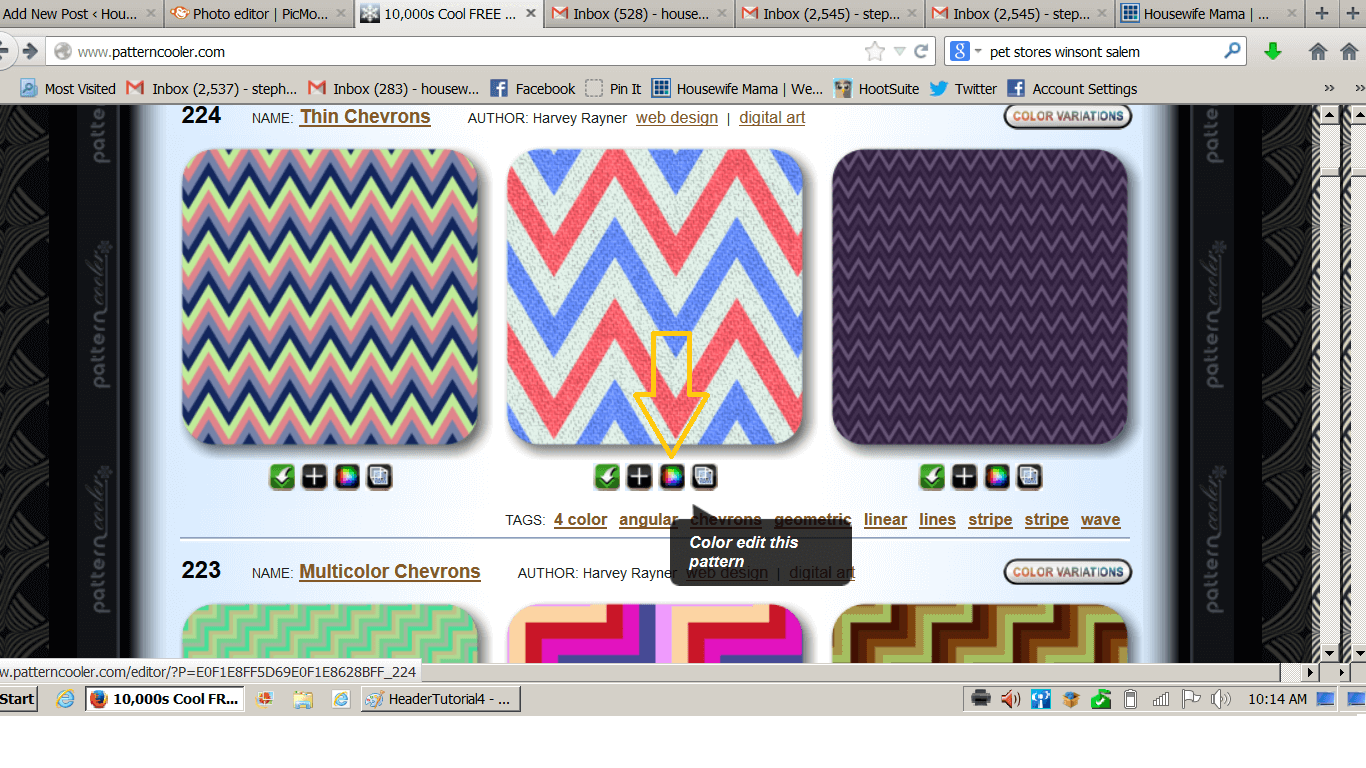
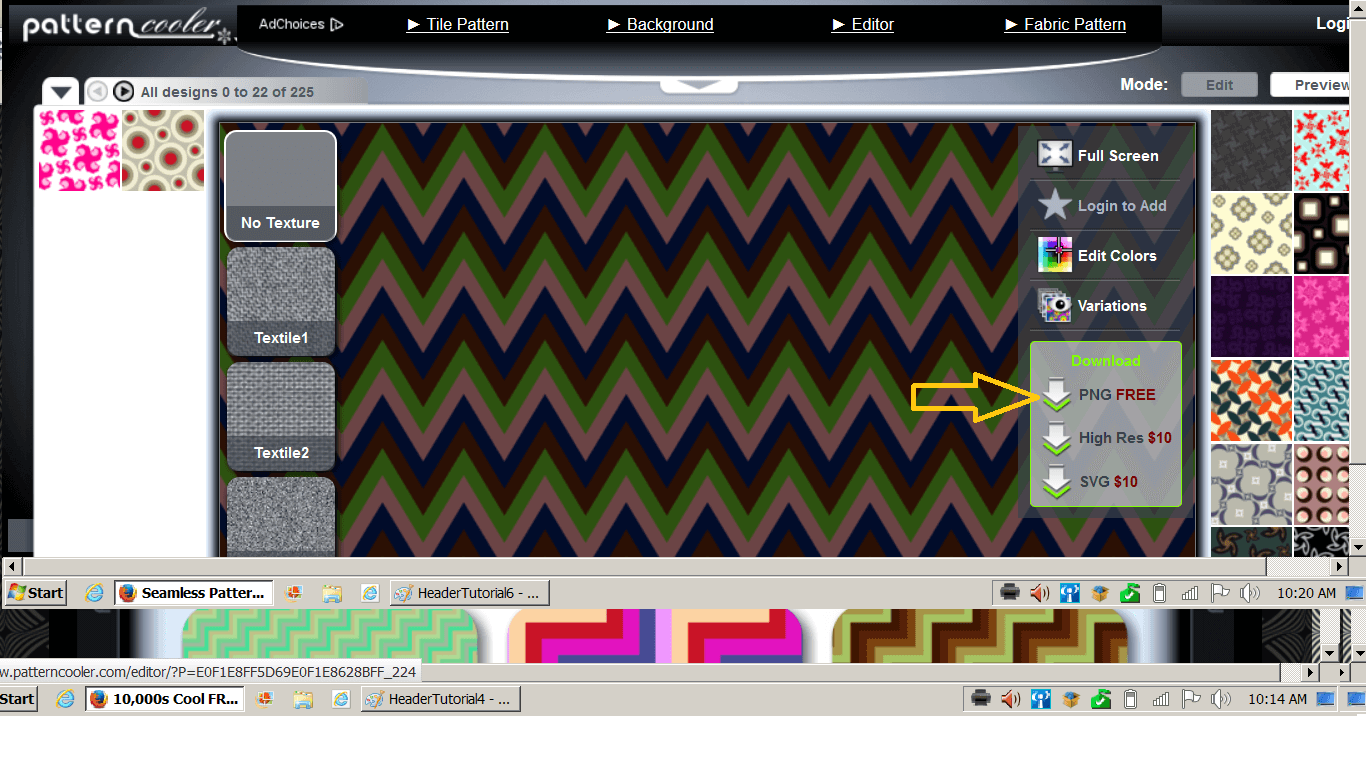
Click on each color to change it and when you are happy you can click on download.
I used the free PNG and that worked fine for me.
You will also have the option to donate to the website if you would like to.
You can now upload your pattern to PicMonkey and simply drag it over to where you want it to be in the collage.

You can also remove a picture by hovering over it and clicking on the X (one click removes the picture and a second click removes the whole box).
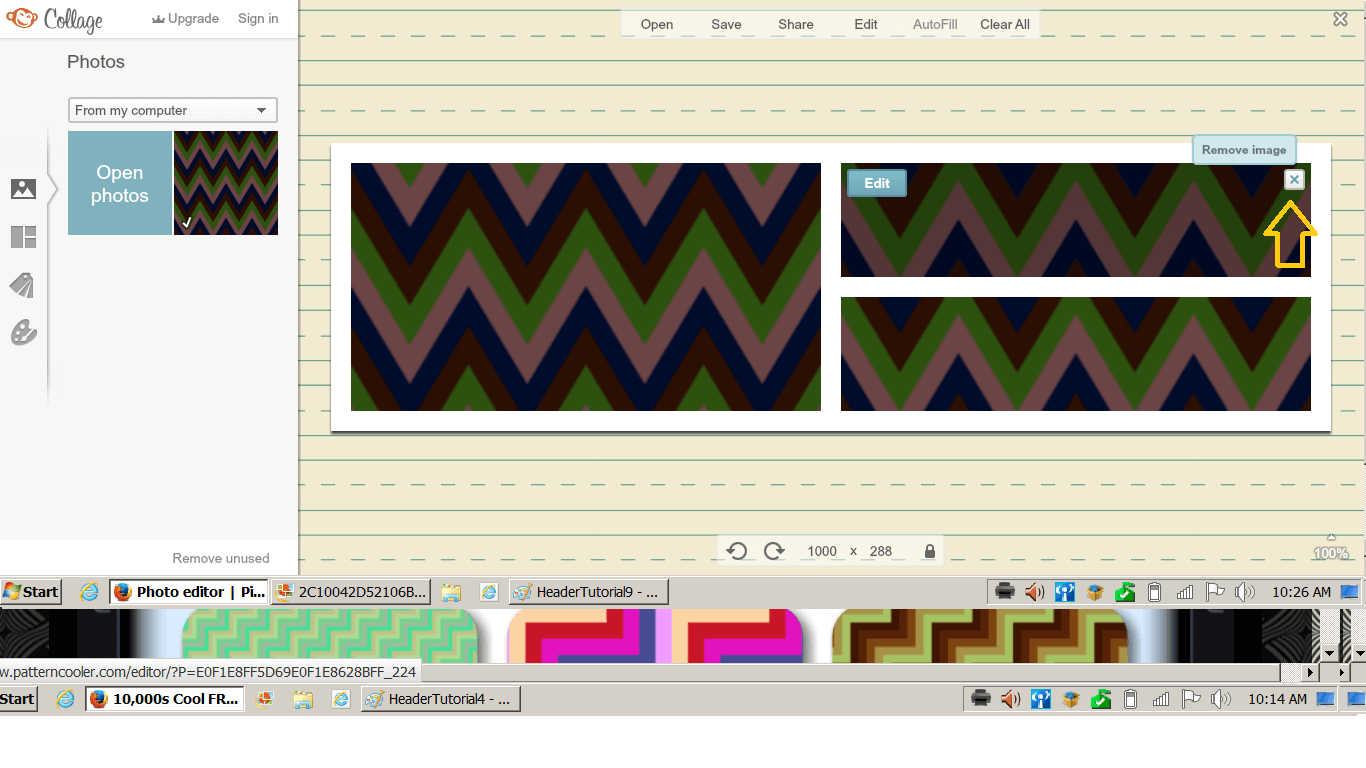
If you would like to add another box just drag over your image and place it where you want it to be.
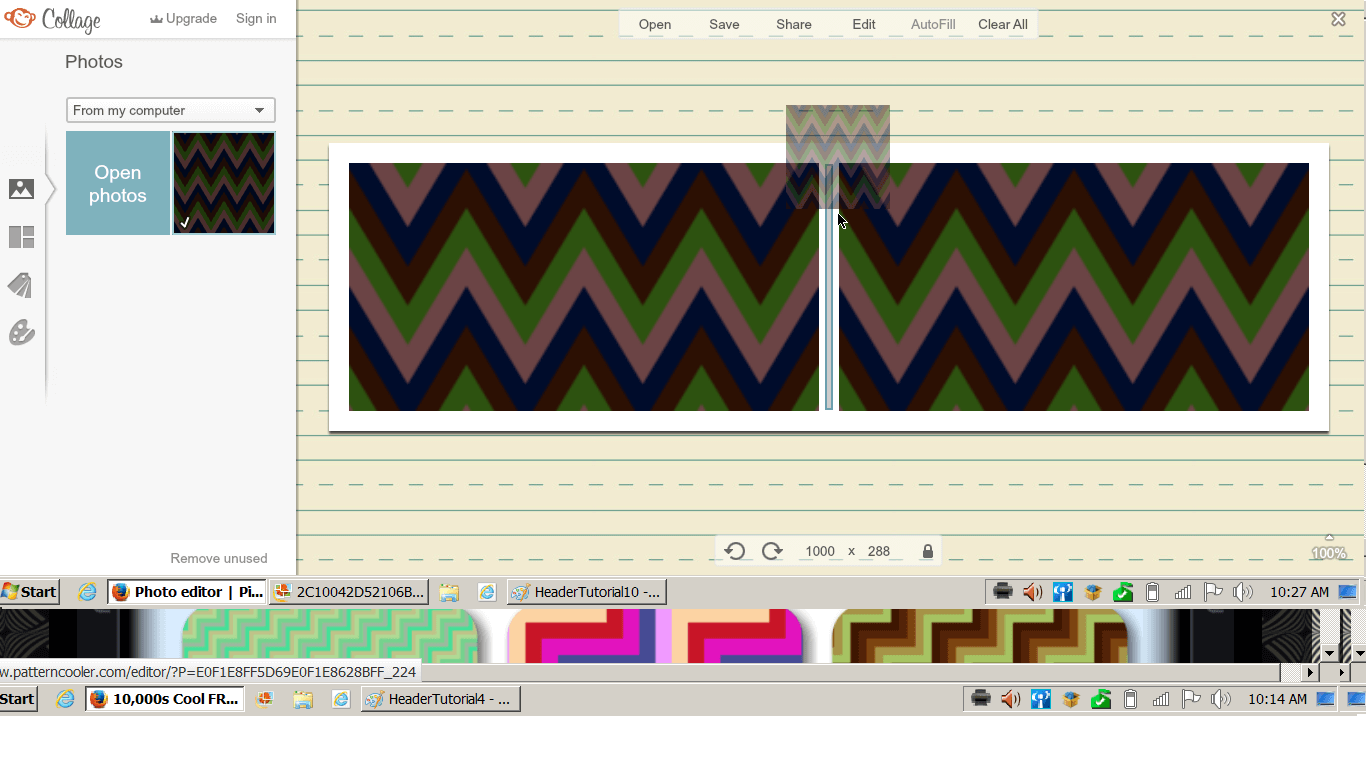
If you click on the swatches tab you can change the spacing and round the corners of the images.

There are other details you can click through as well.
Now you are ready to add your text. If you read my previous post on making pinterest-friendly images you saw that you had to save the collage and reopen it to add text.
PicMonkey has now changed and you can simply click on Edit to get to the editor.

Click on the P tab and choose your font.
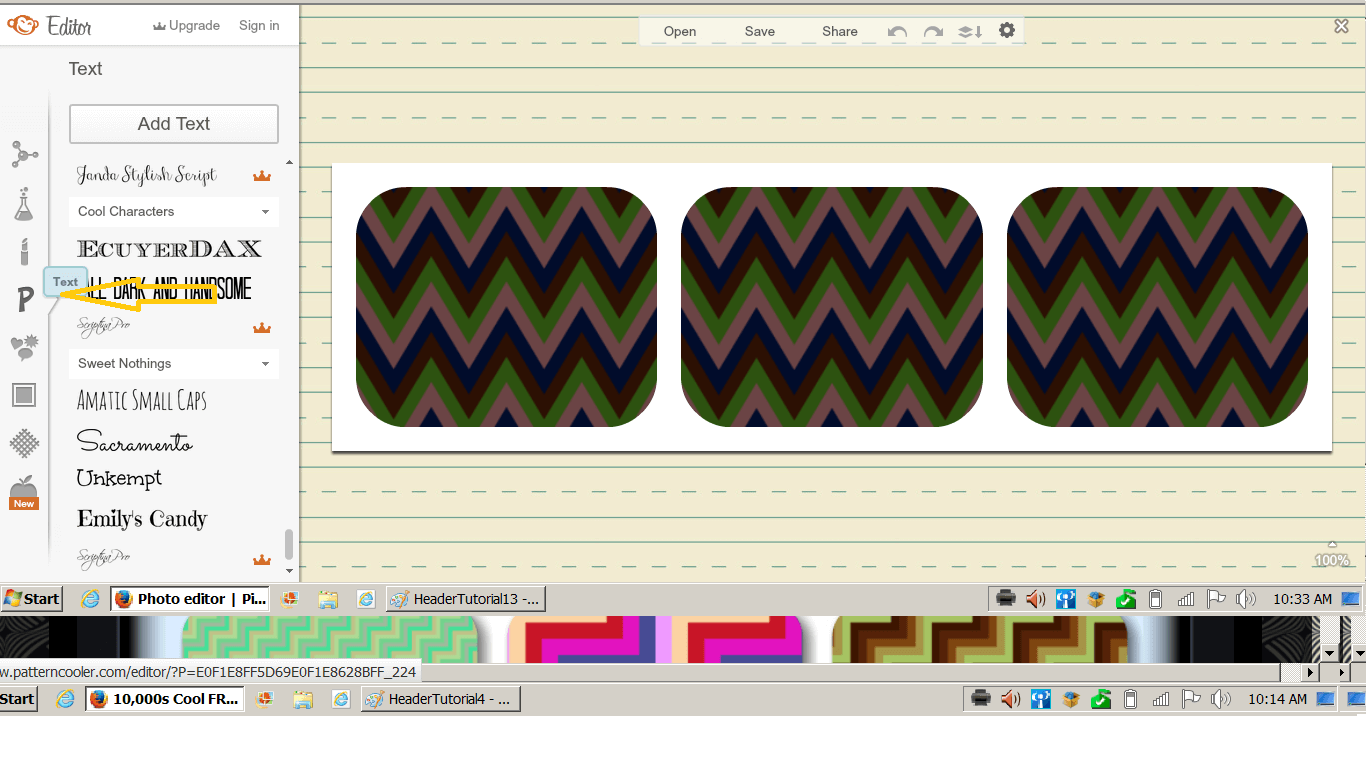
Next click on the Add Text button and type what you want into the text field.
You can edit your text and drag your text field wherever you want.
You can also adjust the field to fit into your image.

You can create as many text fields as you want to.
Once you’re happy with your header you can click save and then save to your computer.
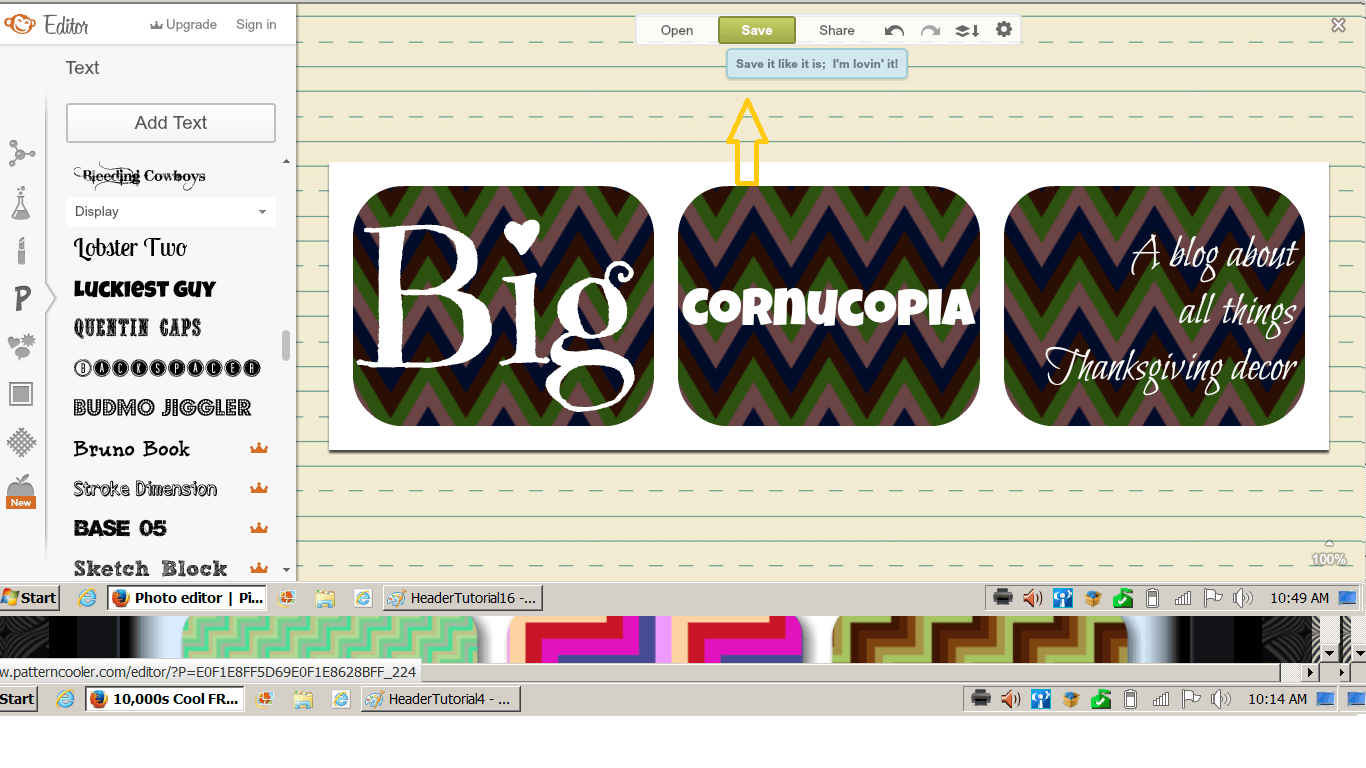
Upload this image to your blog and you are ready to learn how to create a blog header free!
BTW- BigCornucopia.com is still available and you are welcome to use the header I already created.
Our Readers also found these articles VERY useful; How to put a Recommendation Box on your Facebook Page, Do You really need a Facebook Page for Your Business and now take a look of this article How to Create a facebook Fan Page


Great tips! Next time I need a new header I will have to try making it in PicMonkey.
Come back and link us to it if you do!
Stephanie you did a great job on istructions, and the pattern look great thanks!
Thanks Jacqui!
Thanks mate, where can I download the software?
This looks super simple! I usually just use my scrapbooking software and then resize in MS Paint. I just did redid my header last night, actually. Wish I had seen these instructions and am def pinning them for future reference.
Yes, it sure it simple. Definitely trying it out next time you want to change things up 🙂
This has got to be the most simple create a blog header I have found on Google yet. A friend of mine was just asking me about an easy way to create one for her blog. This post right here saved me from having to go into great detail how to use gimp, layers, and etc.
Thanks for posting this and making this network administrator’s life a bit easier today. Have a great weekend!
Thank you for this tutorial, exactly what i was looking for 🙂
OMG! I’m so glad i found this post 😀
Thank you, thank you, thank you very much!